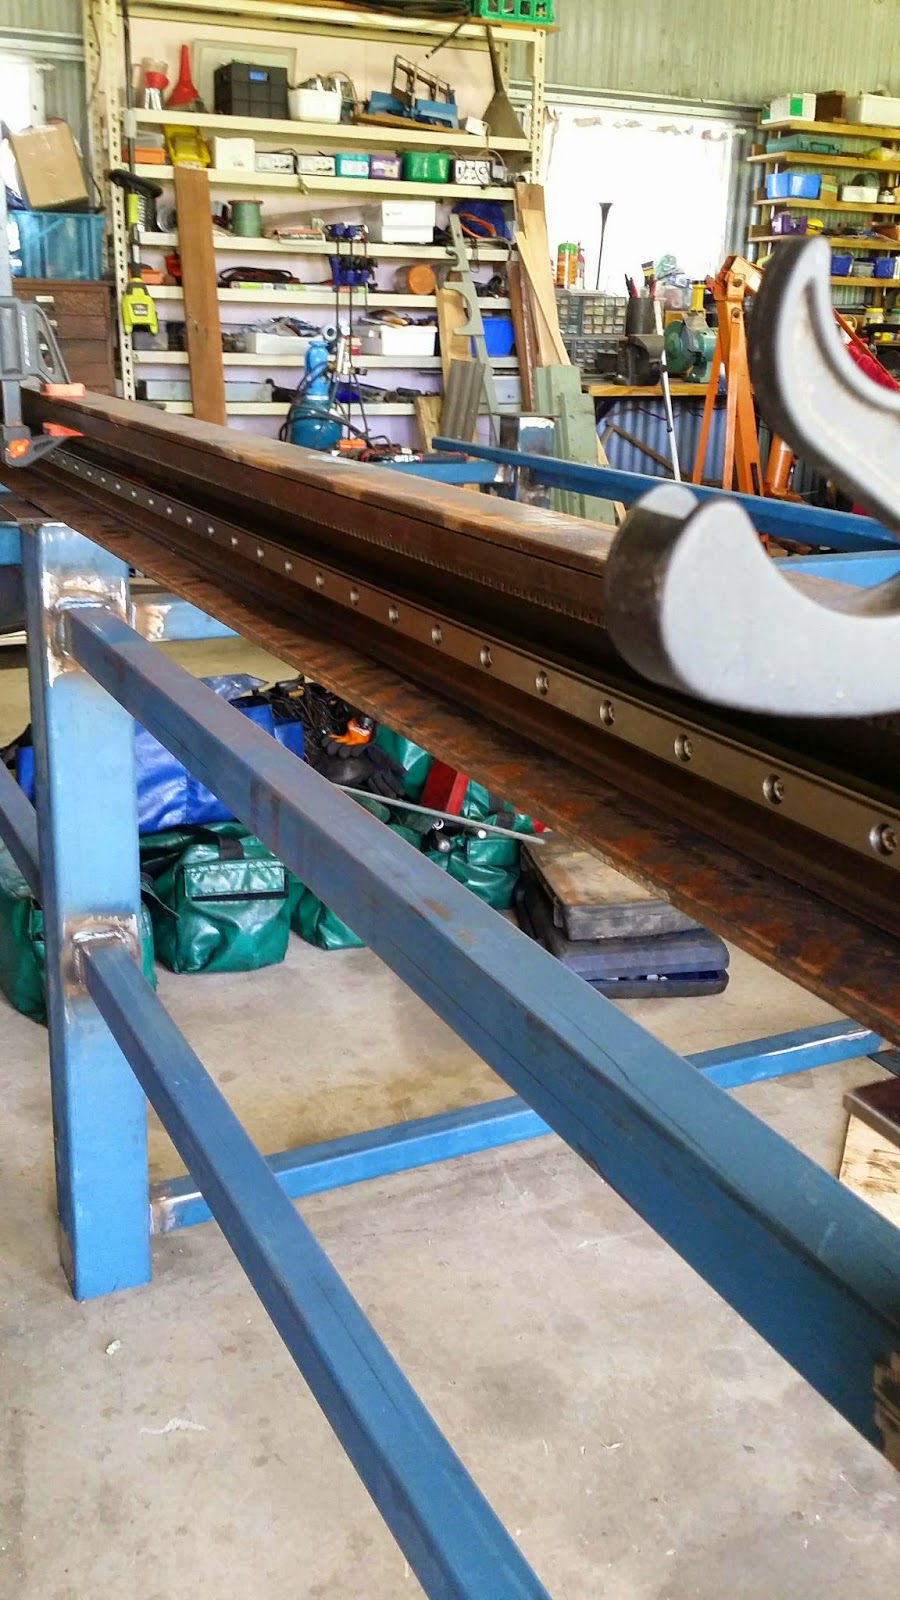
Over the past 2 days I have continued with the plasma table build. The x axis rails are made using a 120x65x6mm C section steel lintel, usually reserved for construction sites. I've used this because where the main x axis linear bearings sit, the C section gives protection from whatever Flys off the water table or any slap that may come off. It also protects the very expensive rails from having stuff dropped on it. This C also provides a surface to mount the fairly huge Mod 2.0 gear rack and again its protected and pointing downwards so nothing gets into the teeth of the rack. So the design will help greatly to keep the major moving areas clean and undamaged.
The two sections housing the rack and rails are fucking heavy by the way. These needed to be drilled 40mm up from the bottom with 50 6 mm holes to fit the linear bearing to it. Both had to be exactly the same as each other, so I turned them back to back making an even heavier i beam (couldn't find an i that looked like a beam) tack welded them together and then set about milling up a drilling jig out of aircraft grade alloy billet I had acquired from somewhere. Probably $100 of alloy used to make a jig but it was free so I felt not so bad.
My Dad is an engineer and he had this idea to use the pedestal drill and a long series drill bit. So I took his idea and ran with it. I made a whole jig, made slides and a work table out of scrap rhs lying around and attempted the first hole. Dismal dismal failure. In no way was the massively heavy pedestal drill (I can just lift it) going to keep perfectly still on the sliding jig set up.
I went back to my idea which I had drawn out on BobCad weeks in advance. Grabbed more of that amazing aircraft alloy and made a drill guide jig. With the jig in place and the linear rail held in position, I drilled the first, middle and last hole perfectly using vernier and whatever other measuring stuff I could find. Bolts were fitted and tightened and then I drilled the holes in the center of where the bolts were now. This made it secure and as far as I could tell (with the help of yet another bit of brilliantly milled alloy ;)) were exactly correct. The holes are 7mm and the bolts are 6 mm but that gives me some room to move things very slightly if I need to to get it more correct when dialing in the table once finished.
All 50 holes were drilled and it took me ages. Cleaned up the scarf and had one of those "Fuck yeah, I'm pleased with myself" moments. I split the I beam and checked everything yet again. Still pleased with myself. I demurred all the holes with a larger drill bit and then put the rail back on using my billet guage to help with the alignment. After getting RSI from doing fitting up 50 M6 bolts, washers, spring washers and nylocks it turned out absolutely mint. See pictures below. Can't wait to get the other side done in a week or so.


It is important to know the right size for a grill, or how much food to prepare and how large to make the grill to avoid over cooking large amounts of food. Source for more about best plasma cutters.
ReplyDelete